

Intercom is an excellent tool to engage with your customers - it is fairly customizable and can be targeted. Many of our customers use Intercom to engage with their website visitors and users in different stages of their customer journey.
This makes Intercom an area of interest for Usetiful customers who want to step up their onboarding and adoption strategies - what if you could launch a Usetiful tour right from an Intercom widget?
Well, due to Usetiful’s high customizability that’s exactly what you can do. Here comes into play the sharing by URL feature of Usetiful.
Allow your users to launch a product tour with a single click when they are already looking for help in Intercom.
Here's how:
1. Get the link to the tour
Sign in to your Usetiful account, find the tour that you want to direct users to, click the three dots menu and select “Share tour”. There you will be prompted to paste a URL - that is the URL where the tour is supposed to start. For this example, let’s say a user is on the billing page of your application, https://www.yourapp.com/billing, and may need help learning about all the different features on the page. Paste that URL into the field and hit “Get sharing link”. The sharing link will be generated and copied to the clipboard.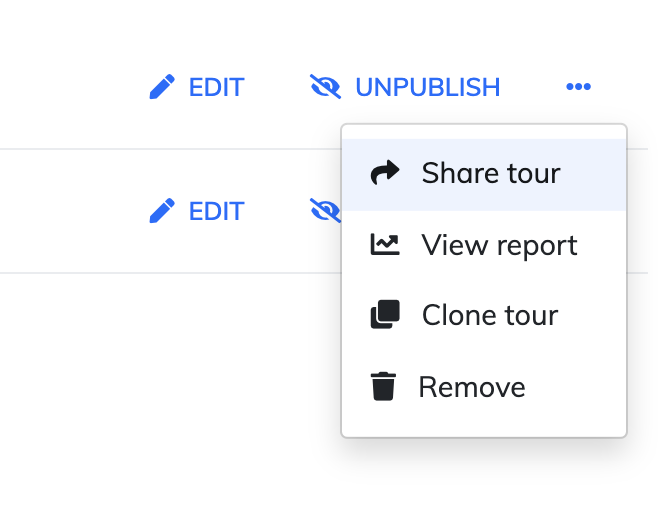

Sign in to your Usetiful account, find the tour that you want to direct users to, click the three dots menu and select “Share tour”. There you will be prompted to paste a URL - that is the URL where the tour is supposed to start. For this example, let’s say a user is on the billing page of your application, https://www.yourapp.com/billing, and may need help learning about all the different features on the page. Paste that URL into the field and hit “Get sharing link”. The sharing link will be generated and copied to the clipboard.
2. Make a compelling CTA
A call-to-action can make or break your plan of placing a noticeable and clear message that users can get help. Prompt your users at the right time with the right message and the results will become way more predictable. Also, keep this in mind when creating your welcome message.
3. Add the CTA with the link to your Intercom popup
Sign in to your Intercom account and add the link to one of the messages
A call-to-action can make or break your plan of placing a noticeable and clear message that users can get help. Prompt your users at the right time with the right message and the results will become way more predictable. Also, keep this in mind when creating your welcome message.
3. Add the CTA with the link to your Intercom popup
Sign in to your Intercom account and add the link to one of the messages
Here’s an example:
Go to your Intercom’s Outbound > Posts section - this will allow adding a pop-up message with certain targeting on your website.
Go to your Intercom’s Outbound > Posts section - this will allow adding a pop-up message with certain targeting on your website.
When you create a new Post, you will have the ability to select a template and customize it. For this example, I selected a template that already contained a button
After a little customization, here’s how it looks
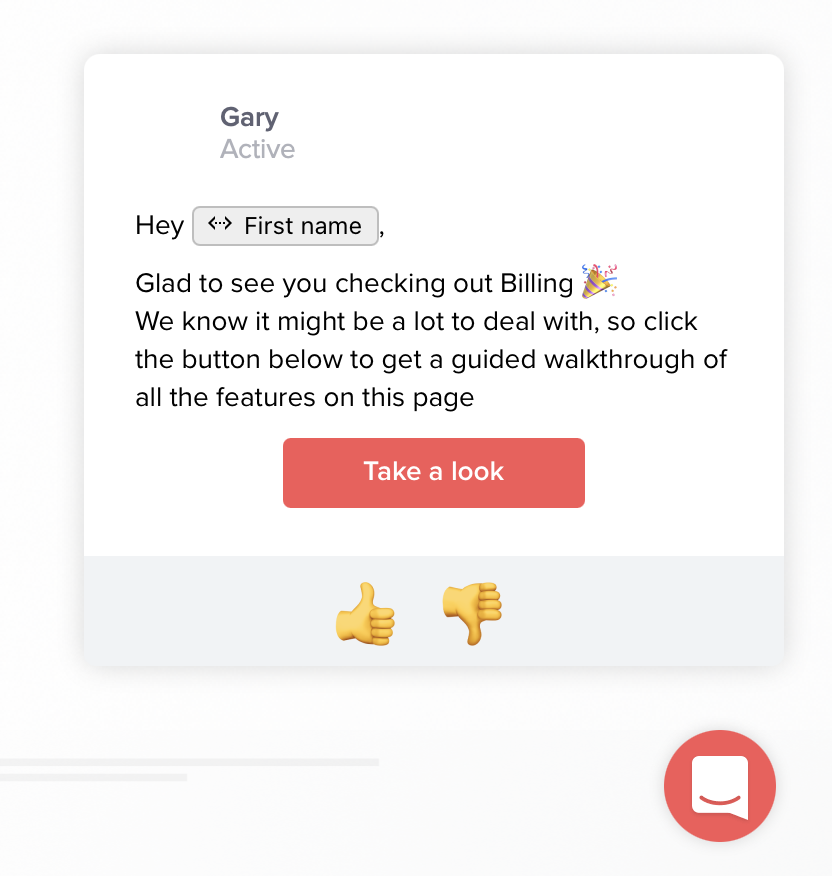
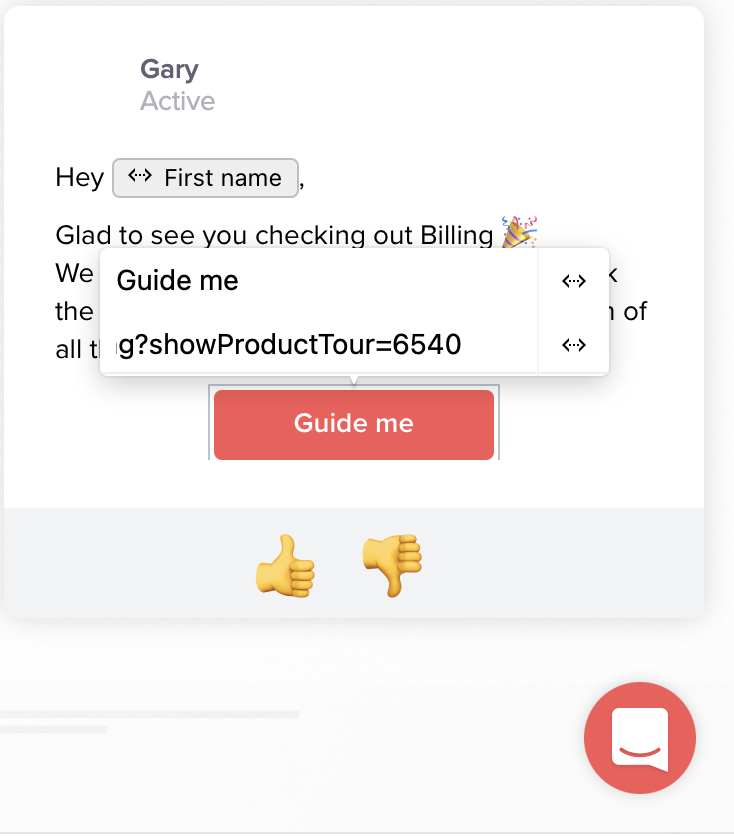
Then I clicked on the button and edited it - I changed the button text and the URL, as shown below. I pasted the sharing link that we obtained in the first step of this tutorial.
As a result, here is how the final message looks - this is what the users will see on the Billing page
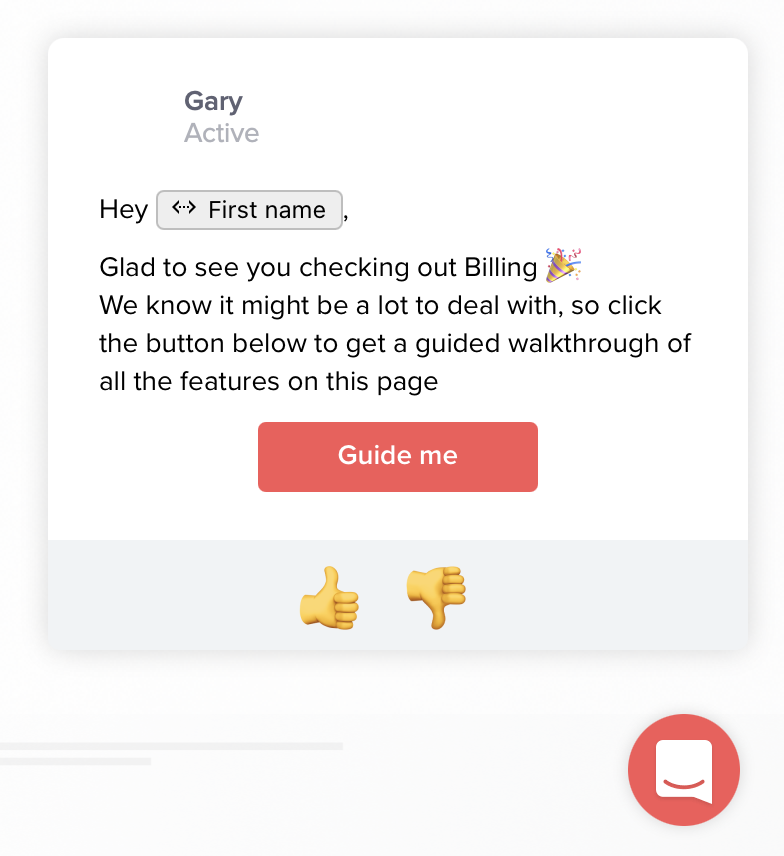
When they click on the button - the tour will be launched.
And voila - now we have an interactive way to prompt users there is a way to get help using Intercom - and an engaging and educating method of walking your users through different features presented on a specific page with Usetiful.
You can add Usetiful tour start points into Intercom articles just as well - the setup is exactly the same - add a button in the article that will take users that seek help to the page that needs to be explained. Try Usetiful now.
And voila - now we have an interactive way to prompt users there is a way to get help using Intercom - and an engaging and educating method of walking your users through different features presented on a specific page with Usetiful.
You can add Usetiful tour start points into Intercom articles just as well - the setup is exactly the same - add a button in the article that will take users that seek help to the page that needs to be explained. Try Usetiful now.